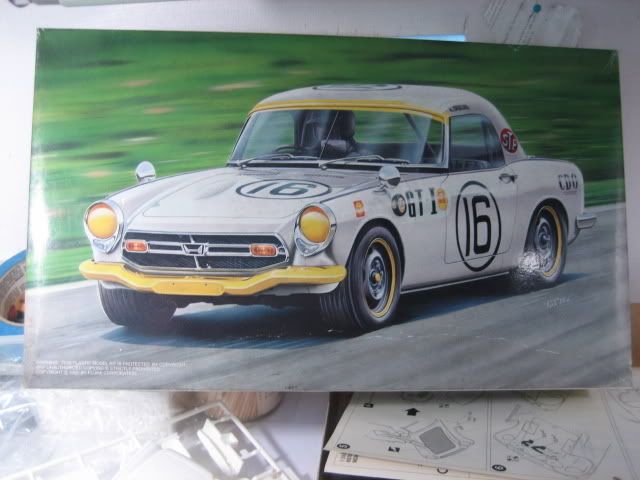
1/24 Porsche 928 *DONE*
1/24 Porsche 928 (Esci) *COMPLETED:12/29/2007*
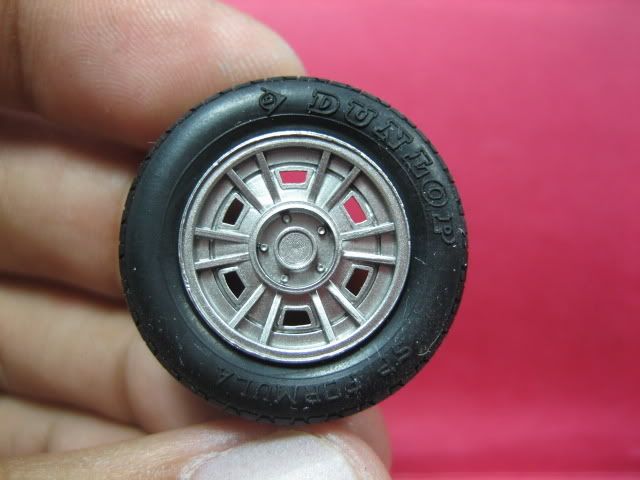
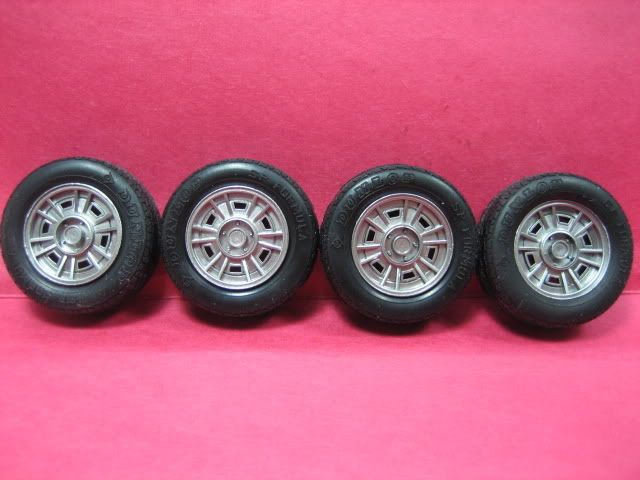
Last Saturday, I was able to visit Nova Fontana (Greenhills) again... and was able to buy from the ukay-ukay boxes. One of the models I took home was the 1/24 Esci Porsche 928 for PhP 150 (~$3). It's still in good condition. Even the decals are useable. Unfortunately the wheels set included in the kit was incomplete/wrong, 3 normal sized-wheel and 1 wide wheel... the correct set should be 2 normal sized-wheels and 2 wide-wheels. :) Anyway, I'll just replace them w/ some of the wheels I was able to buy for the ukay-ukay also (~Php 10/set). For $3 I could not complain, just hope I checked the boxed thoroughly. :(
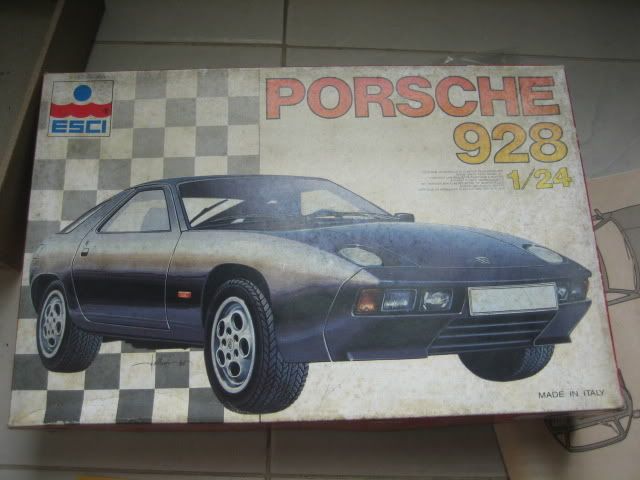
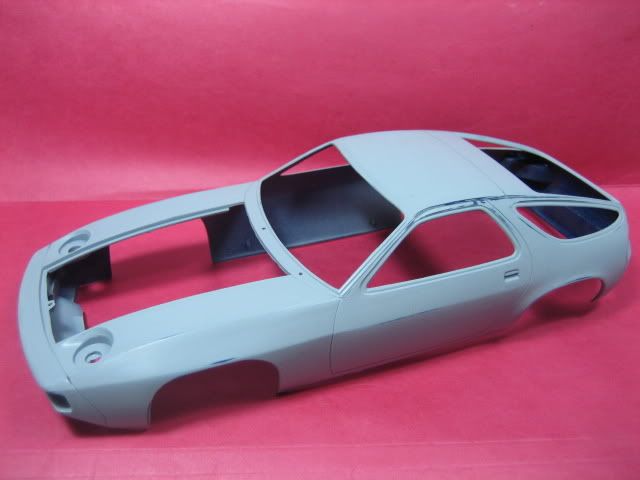
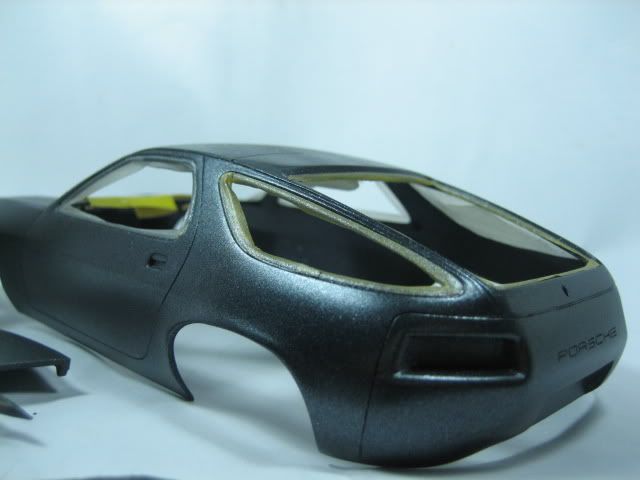
The kit looks ok. I downloaded some reference photos for the actual car and Esci was able to follow the basic shape of the car. Some of the panel lines were not captured/excess. But they are easy to fix w/ some putty and loving care :).
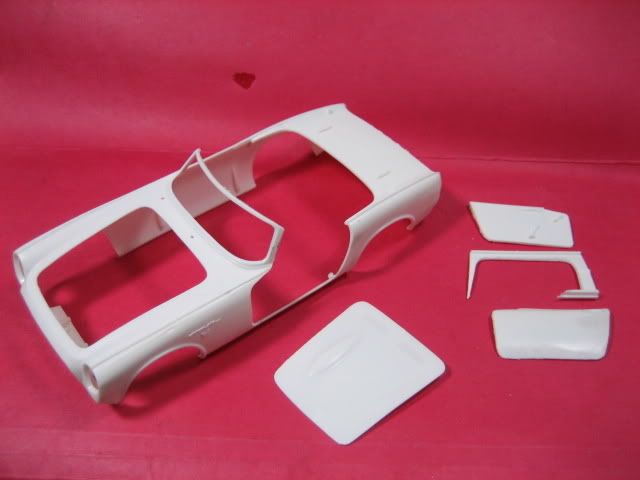
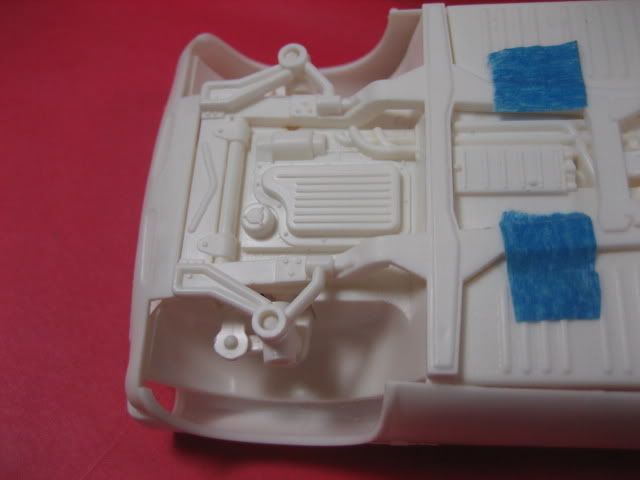
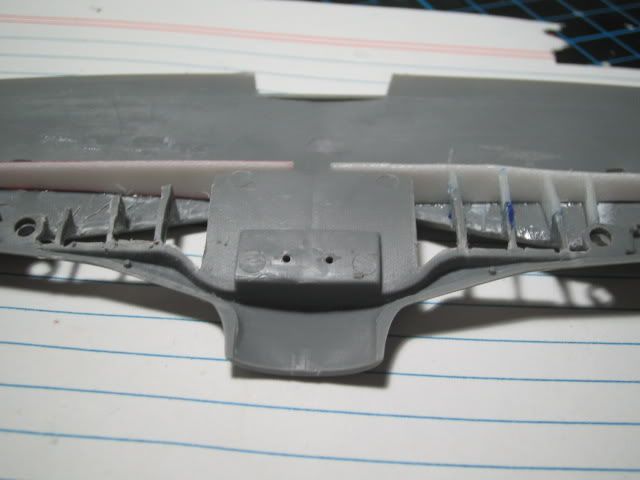
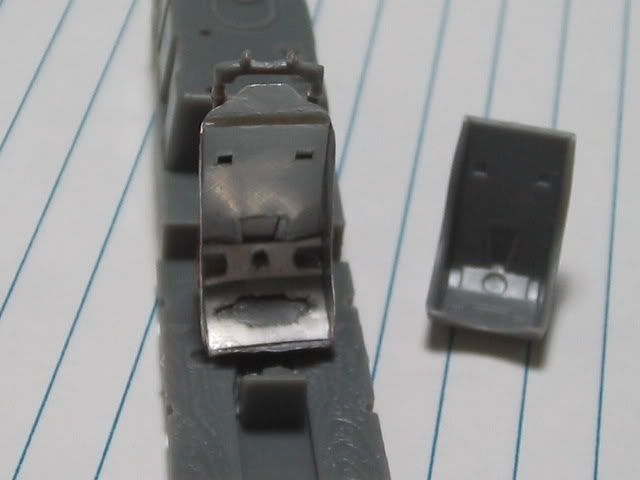
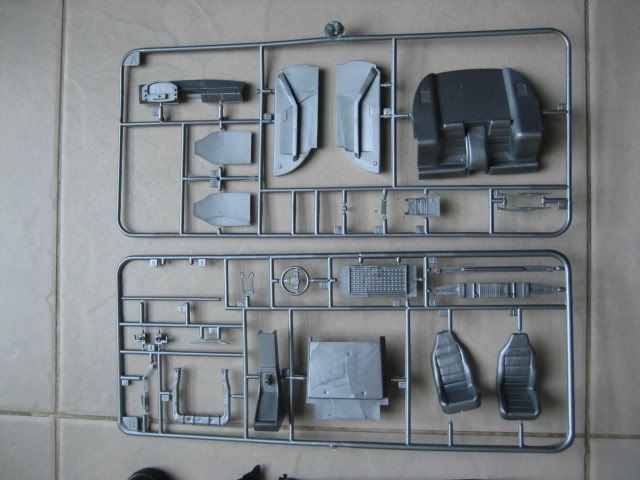
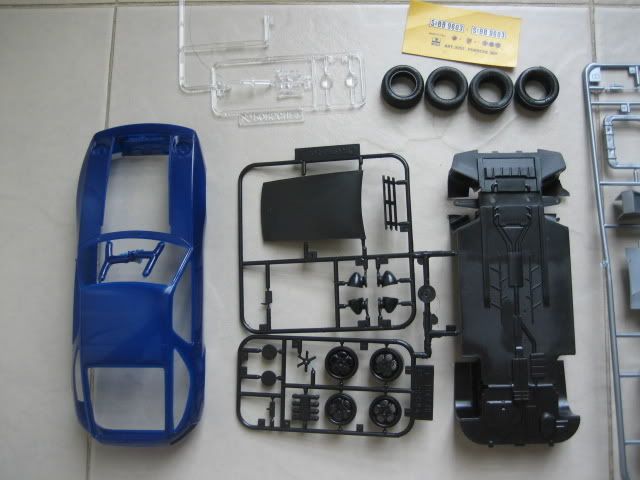
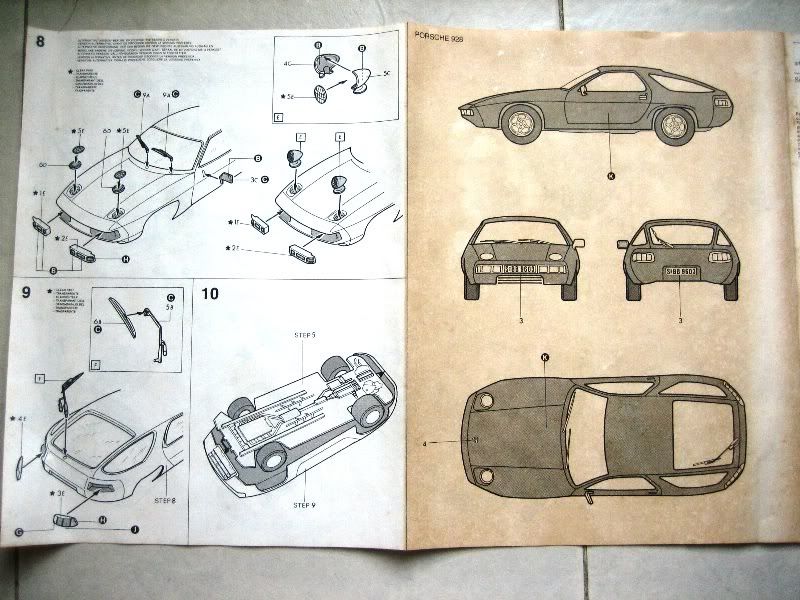
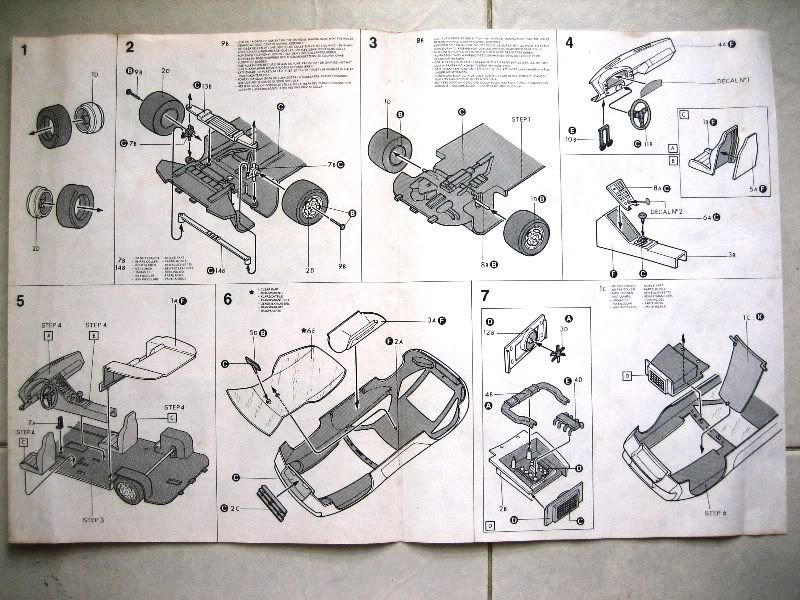
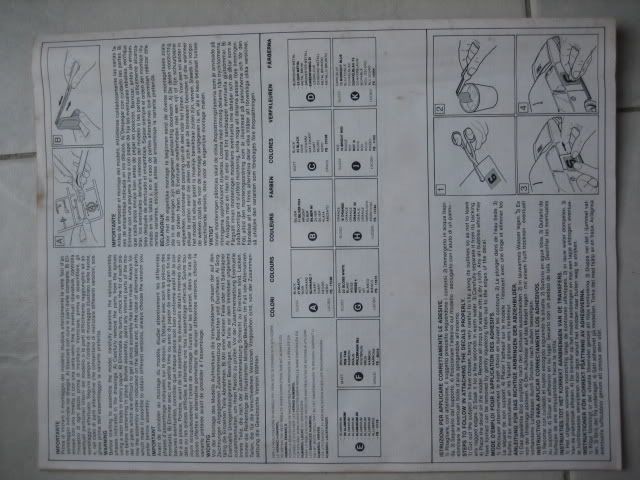
Some photos of the sprues and instructions sheets before i cut them up :)
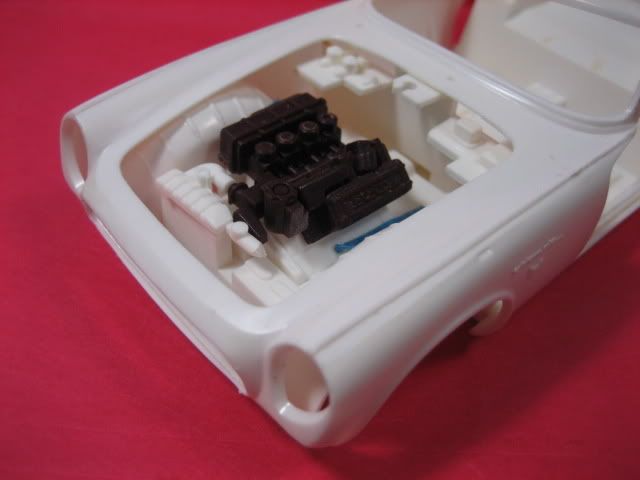
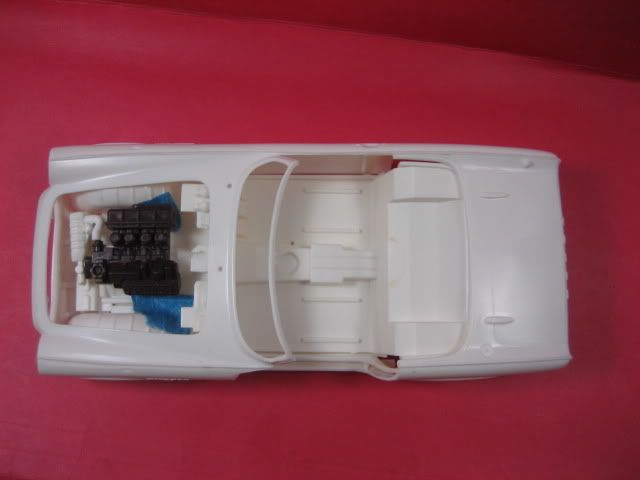
I'm including this kit in our online group build. I'll keep this as OOB as possible. No opening of doors, no adding of engine details, etc. For this build, I'll focus on the basic construction and painting.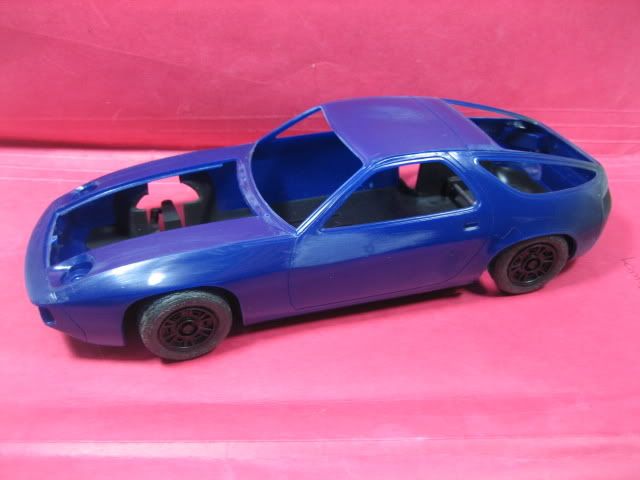
 The Honda S800 will be temporarily shelved. I need more reference pictures. :( If you know someone who owns a Honda S800, kindly PM me their email address so that I can ask for reference pictures :) thanks!
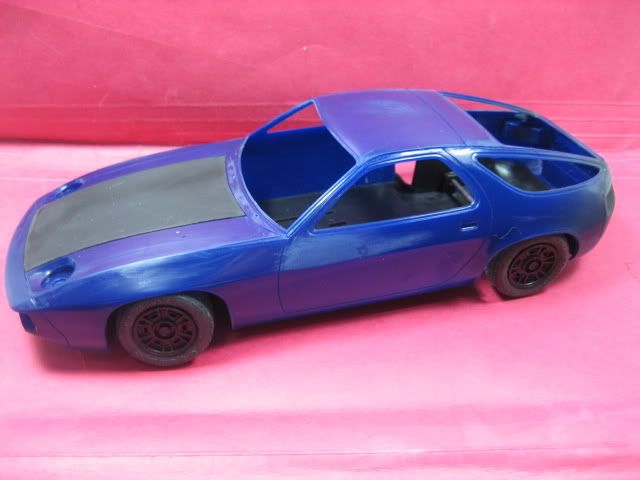
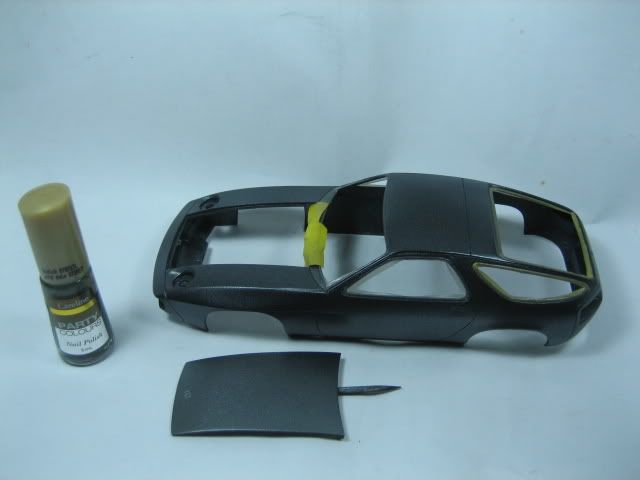
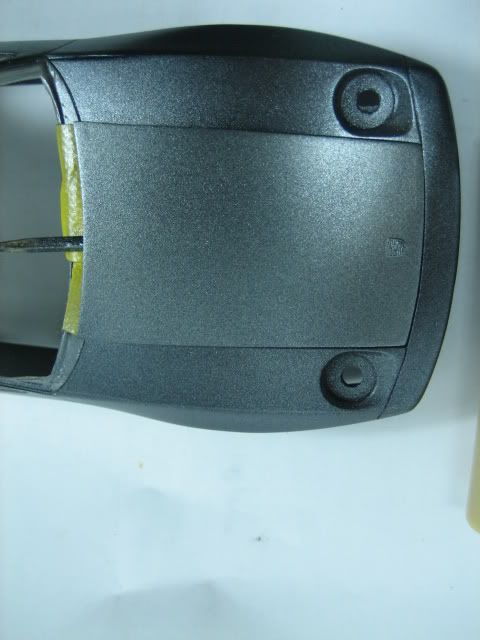
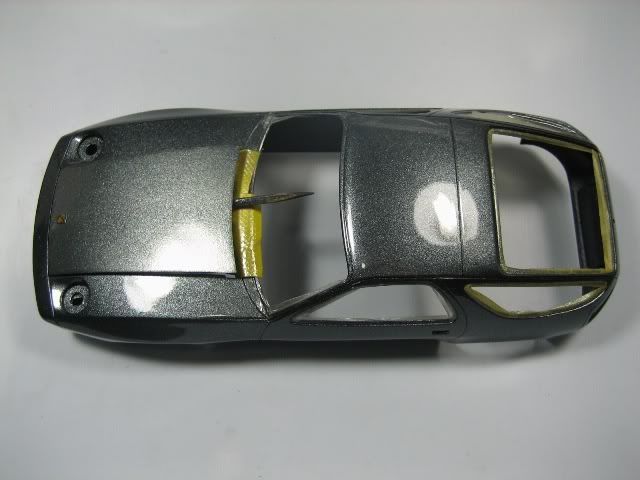
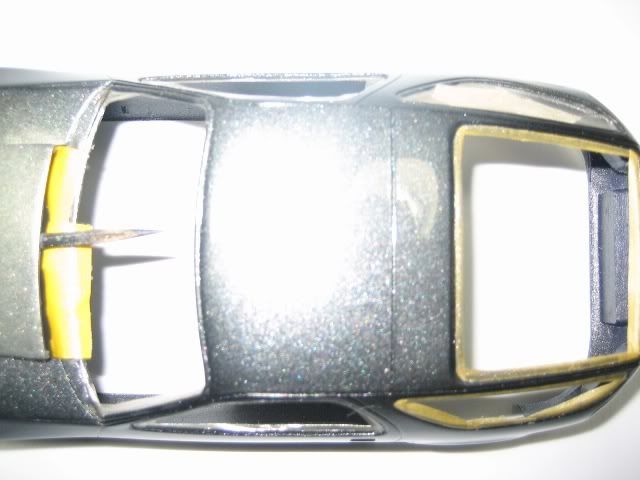
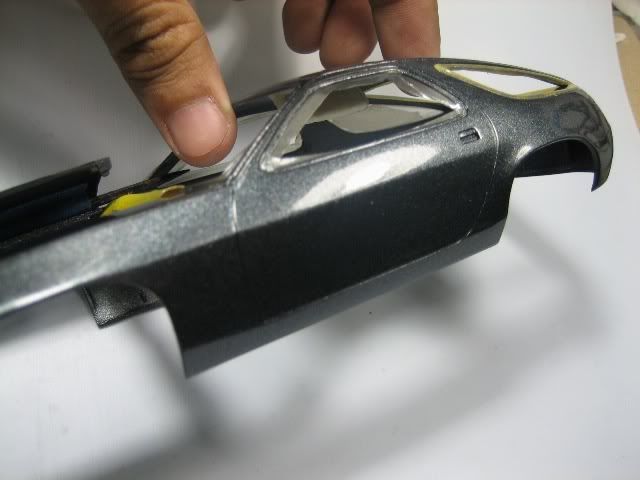
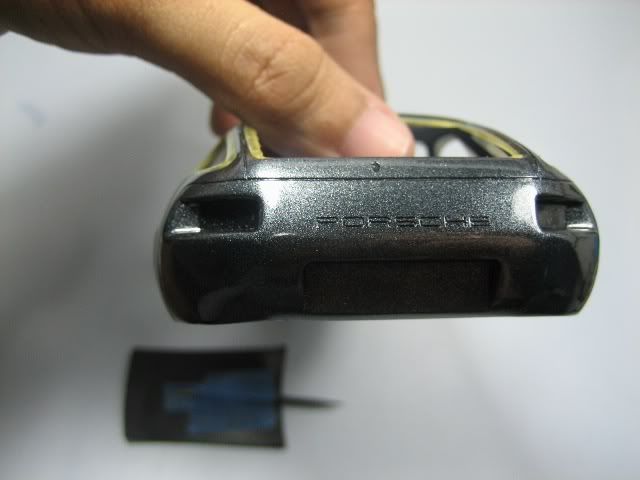
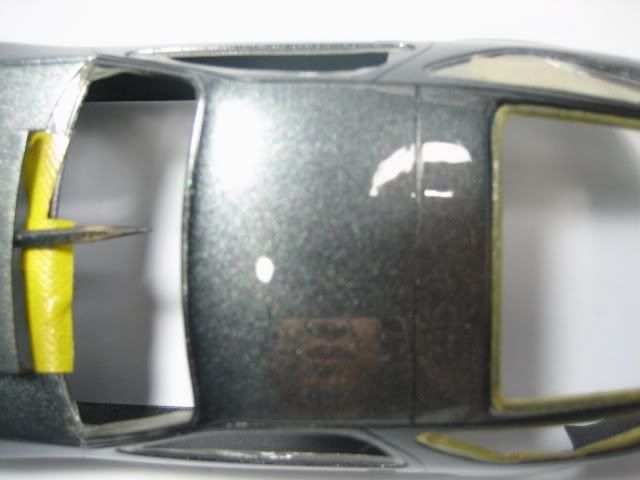
I was able to do some body work on my kit. Kit was primed using Mr. Surfacer 1000 thinned w/ Mr. Thinner. The finish of this primer is great! Unfortunately, I have some problems when spraying it. There's some sort of cobwebs shooting through my airbrush whenever I use this primer... :( Any tips on how to use it properly, pls leave a comment :). thanks!


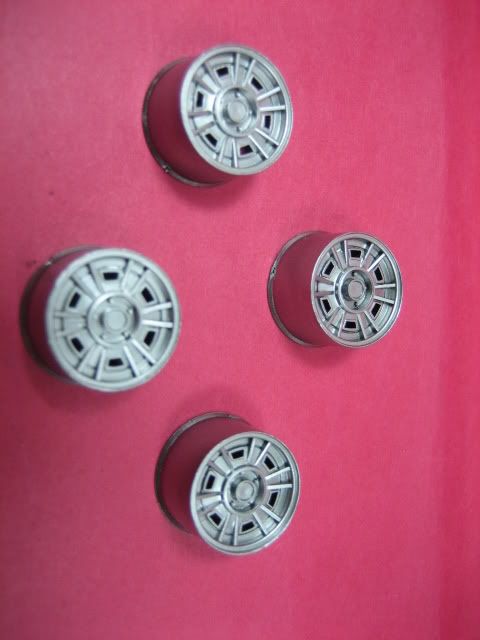
The rims were painted w/ Mr. Color Super Stainless and then clear coated w/ Future. The rims and wheels came from my Fujimi Ferrari Dino GTS.
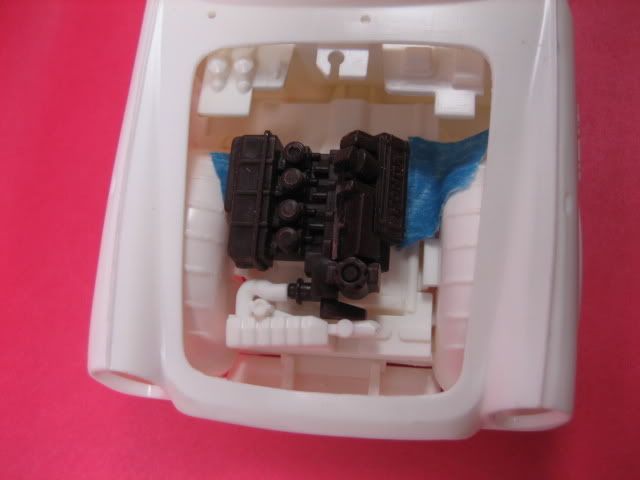
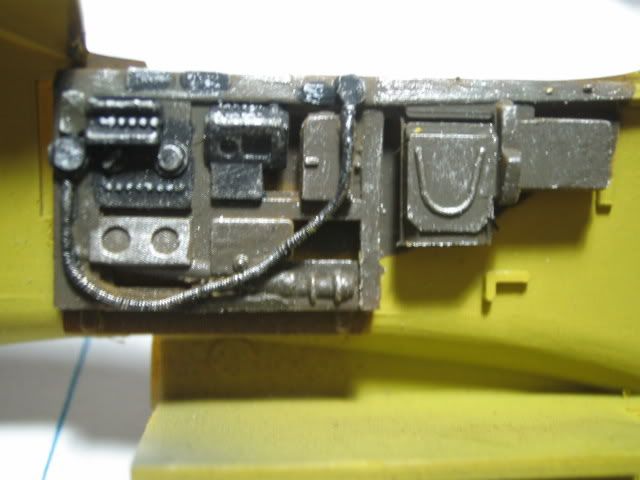
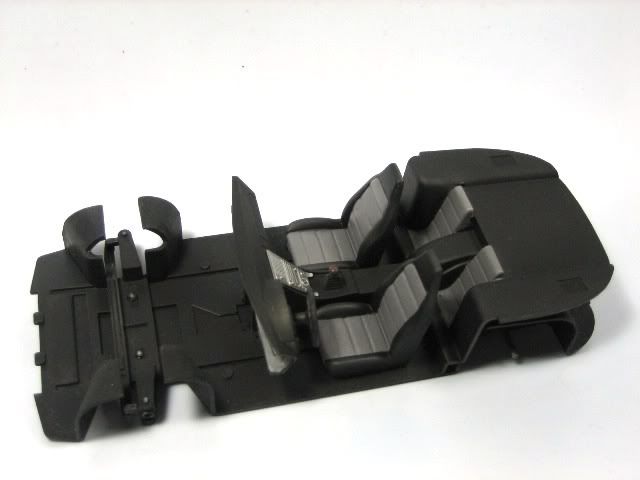
 I started work on the interior as well. I did not take photos as it's not yet finished. I've something planned on the back of the interior. I'll put a pair of 12" speakers and probably an amplifier :) It will be too bare to leave it w/ two factory stock speakers.
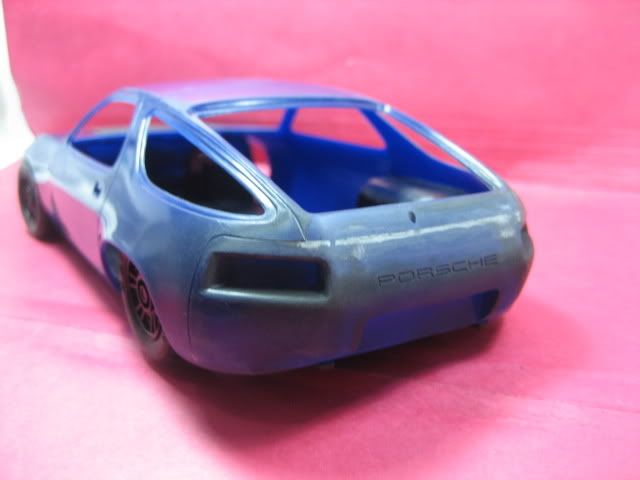
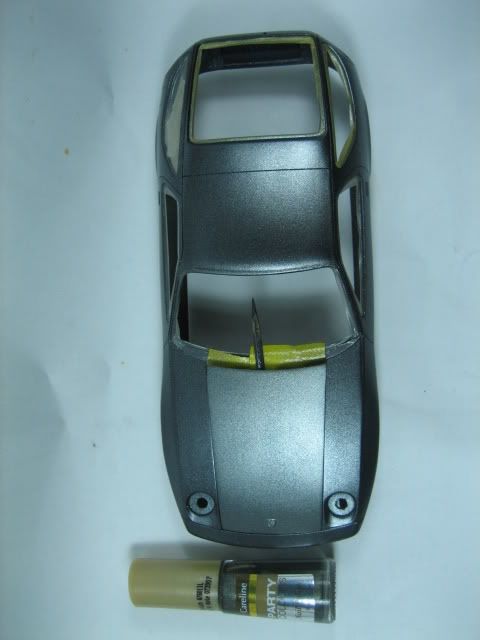
(12/1/2007) After making sure that the final black base coat is thoroughly dry, I airbrushed Black Lace nail polish from Careline (~Php24). The color came out superb!!! I'm sold in using nail polish for cars :) The finish was good and hard. Very durable.
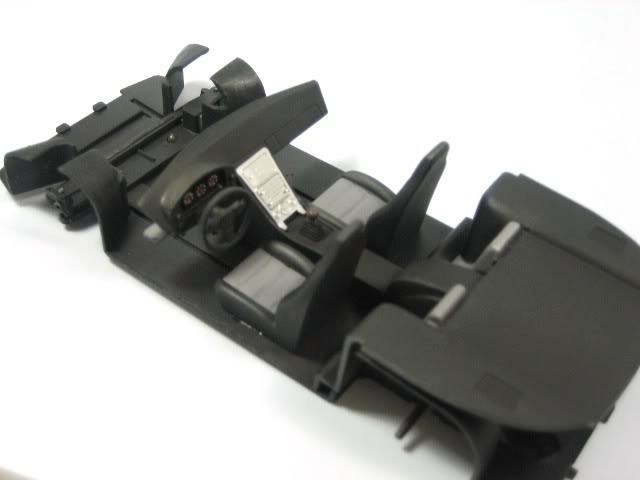
The interior is done already. I installed carpet using black felt paper (although not pictured here).
After mustering enough courage (I've been trying to put this off for a while now that's why the update was delayed) I finally applied my 2k Clear Coat (Anzhal). The clear coat was very very thick. I used 3:1:4 Clear Coat:Catalyst:Gloss Thinner and mixed my small batch inside a small bottle. After I loaded it to the airbrush and fire a few mist-coats,I found out that the mixture is still a little bit thick. I added more gloss thinner so that micture is 3:1:5.
I'll let the photos do the talking:
Glass-like finish 11 hrs after wet coat. clear cot already hard.
Can you see my reflection from the photo!!!!
Finally, I was able to finish a car kit! :) wohoo!! Here are the photos, I'll still try to replace the wheels and polish the glass. But I can choke this up to the finish tally.


with wipers:
posted by pinoy yuppy husband at
1:48 PM
|
0 Comments
![]()
![]()