1/144 H6K Mavis
1/144 H6K Mavis (Trumpeter)
This will just be the 3rd kit that I was able to finish this year.
I drooled over this kit since the beginning of the year. I resisted the urge to buy the kit for the 1st half of the year but finally gave in last June when our local club IPMS Philippines started planning a Group build to commemorate the Battle of Leyte. Construction started last July in time for the start of the IPMS Philippines Battle of Leyte GB.
The Build
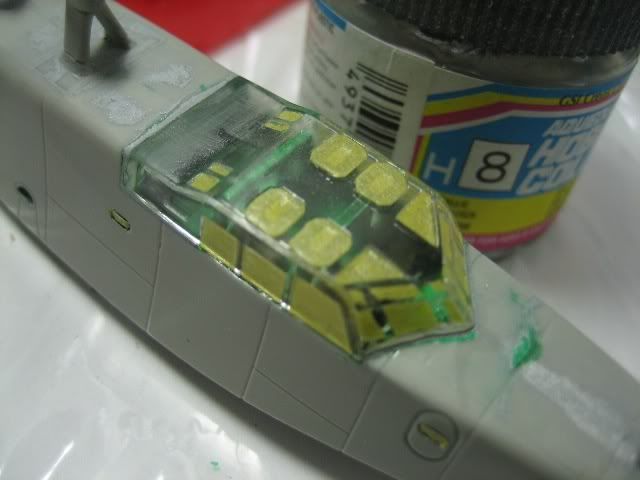
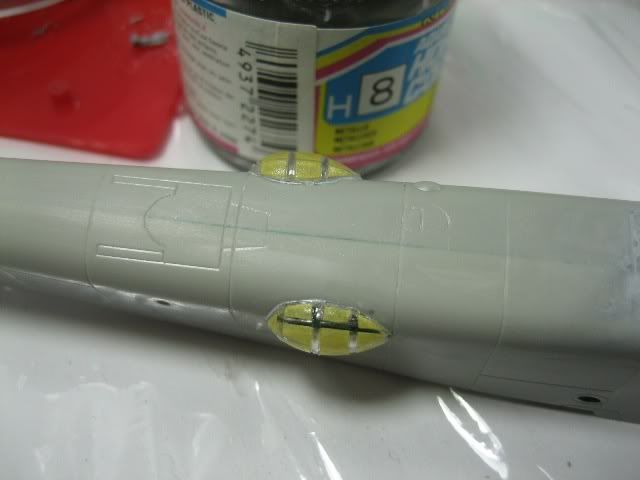
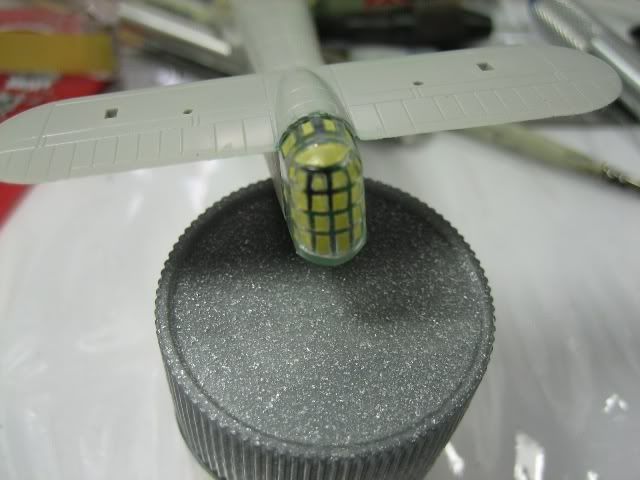
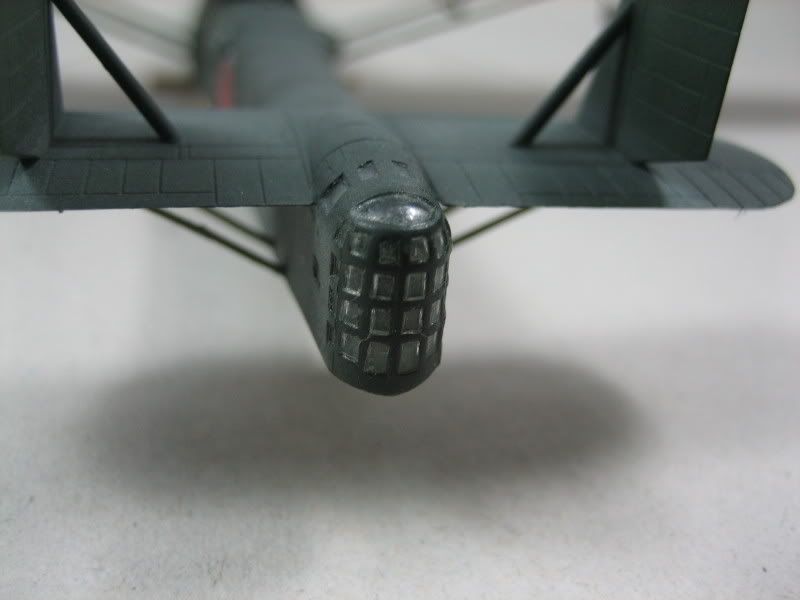
This build was purely OOB. The kit has good details for 1/144. Panel lines are engraved, although a bit exaggerated but after paint, it wasn't that obvious. All the basic parts were represented in the kit. Even the 2 antenna posts and circular antenna were included. The outline appears to be similar to the H6K although I did not bother to check it against line drawings I was able to download from the internet. The clear parts were great! :) The Mavis had a gazillion windows and each of them had well defined frames that can be easily masked (more of this later).
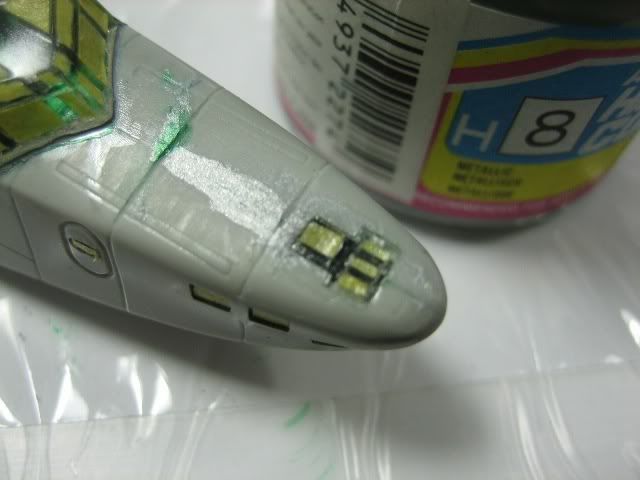
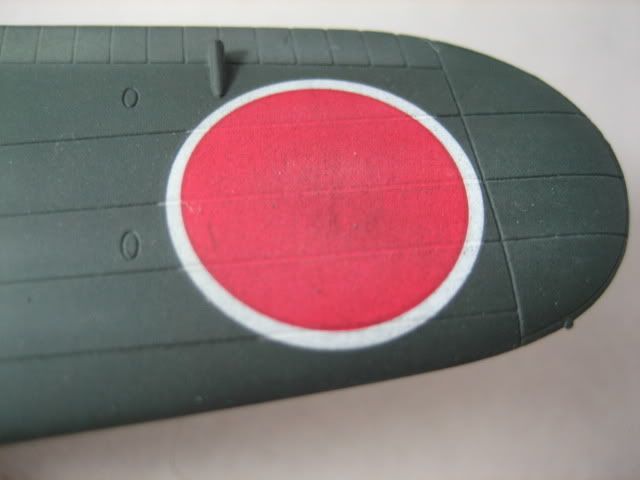
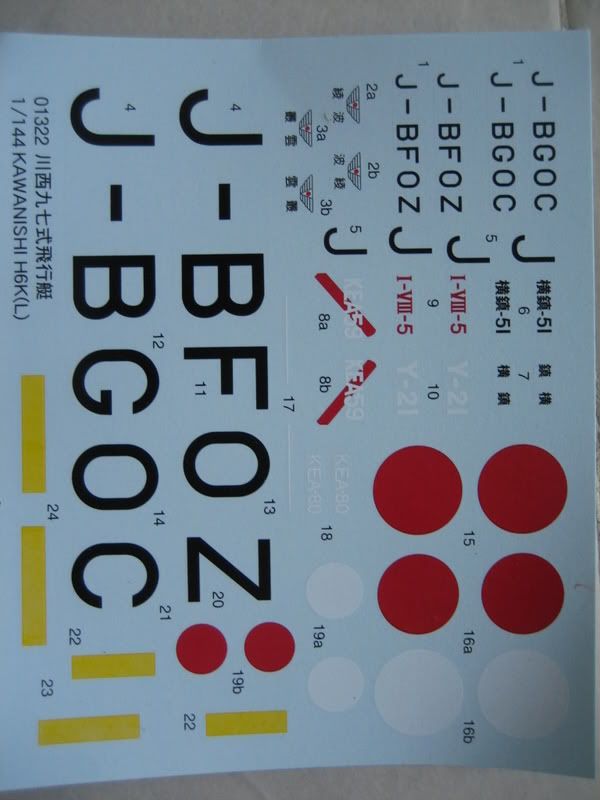 A surprise for me were the decals! They were in good register, thin and the colors were opaque. Except for the wing leading edge decals. I did not plan to use them but I forgot to paint the leading edge yellow-orange befor painting the wings IJN green. It was too late when I detected the mistake :(. The leading edge decals were pale yellow and near transparent. As per experience these decals will not be good esp. if it will be applied over a dark surface. So I sparayed yellow-ornage mix to the decals, then coated it with microscale decal film (airbrushed). After it was thouroughly dried, I applied it as if it was a normal decal. Although it became thicker, it still layed down pretty good after application of slight pressure and Future. You'll see in the pics that it turned out good as well.
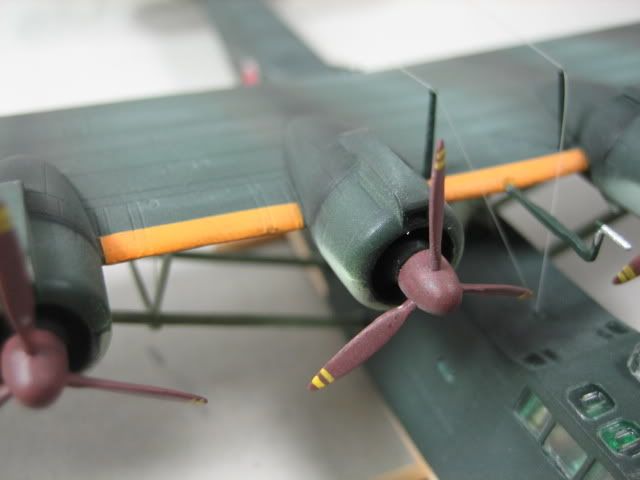
Painting was normal. No special process followed. What I did differently was the weathering process. After the decals were applied, I coated the model w/ flat lacquer coat. After drying, I used pastel chalk to simulate the surface bleaching that these particular aircraft suffered from specially in the pacific. The engine exhaust were also done using pastel brown and black.
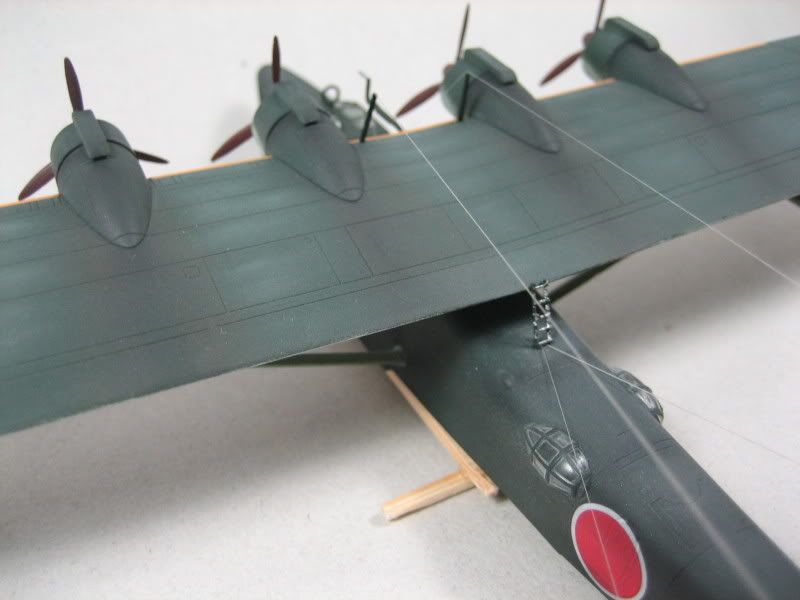
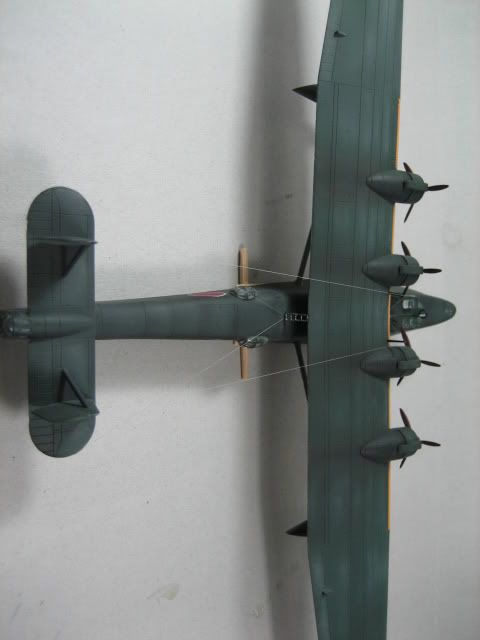
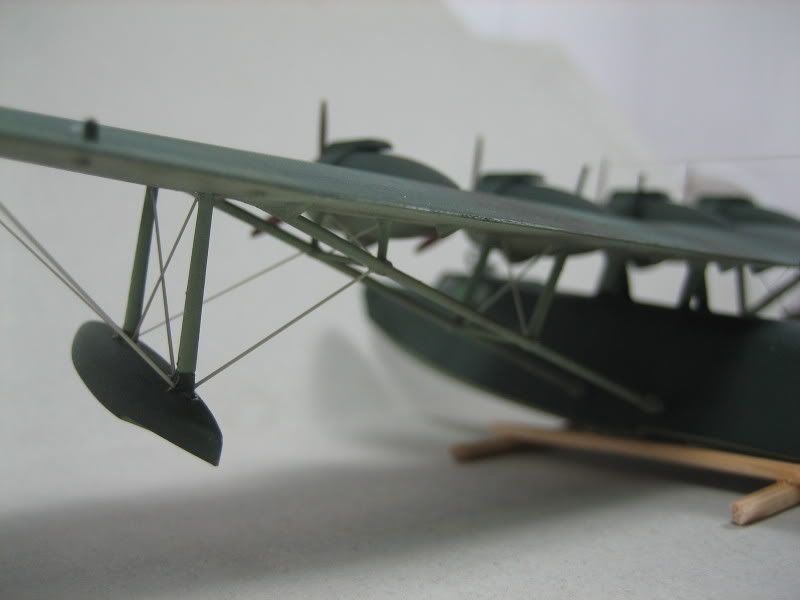
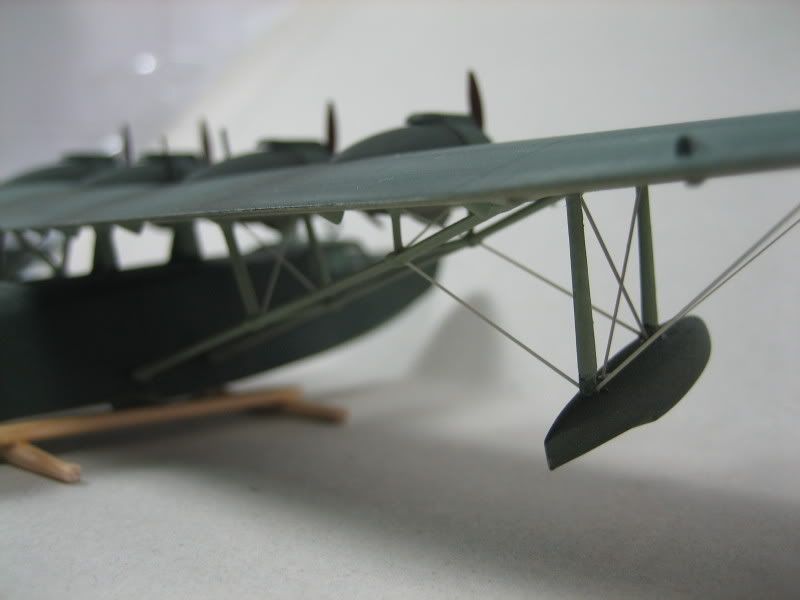
After completing the weathering process, I contemplated on wether to rig the plane or not. I was originally planning on installing antenna wires only, after that was done successfully I tried putting the braces for the floats. When I was able to achive it w/o any problems, I proceeded to fully rigging the plane :D I used stretch sprue for all of the rigging. I maintained a diameter of 0.20mm to 0.30mm. I checked the diameter using my digital caliper. After many tries I was able to product enough for my rigging needs. No holes were drilled. I just used a drop of CA on each attachment points and the stretch sprue adhered to it nicely.
More In-progress Photos:
My masking method. I used tamiya tape for flat surfaces and parafilm-m and tamiya tape for compound curves.


A great kit overall! :)
End
posted by pinoy yuppy husband at
11:56 AM
![]()
![]()

0 Comments:
Post a Comment
Subscribe to Post Comments [Atom]
<< Home