Pixar's Wall-E
Wall-E Cast Members (Paper Models)
For the past few months I've been trying my hand on paper modelling. It's a cousin of our beloved Plastic modelling but there are key differences. Major difference is the medium, paper and cardboard are the main materials used for paper modelling, along with your trusty colored printer. One of the reasons why bought my printer (HP Deskjet F4185 All-in-One) was I wanted to start paper modelling. It's cheaper compared to plastic modelling. After buying the printer, the only other materials I bought are my paper supplies composed of various thickness (measured in gsm, the higher - the thicker). One pack of 10pcs is usually enough for atleast two models depending on the complexity and size of the model. Other tools I normally used are paper cutters, scissors (big and small craft sized), glues (white elmers glue and glue stick), straight edge rulers and toothpicks (for the glue). I get the same "high" when doing paper models. :) I even get to sneak some modelling time in the office during lunch break ;) hehehe.
While browsing my favorite paper modelling site (http://www.zealot.com/), I discovered new models for free downloads from http://www.paper-replika.com/. They offer Wall-e, Eve, M-O, GO-4 and AXIOM for download. While writing this blog, I re-visited the site and they are now offerring VN-GO, the painting robot, BRL-A, PR-T, VAQ-M! If you don't know who or what wall-e is, just visit this site: http://disney.go.com/disneypictures/wall-e/.
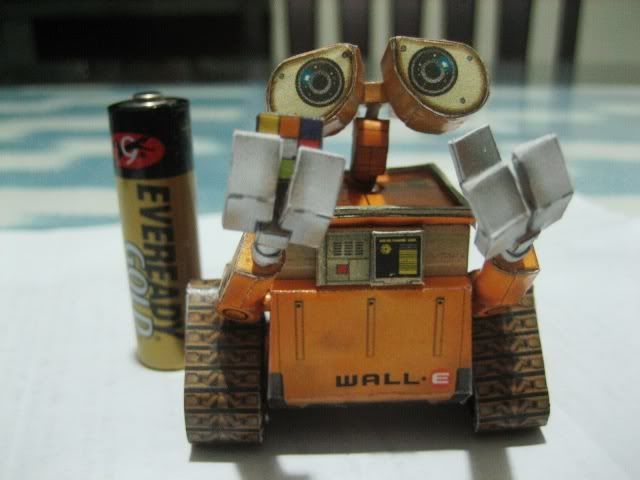
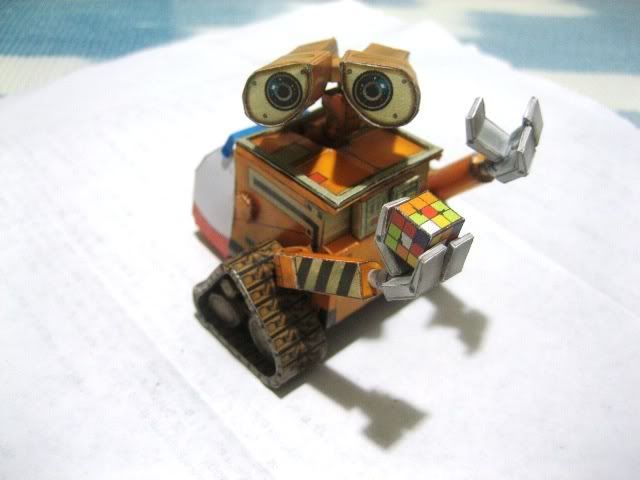
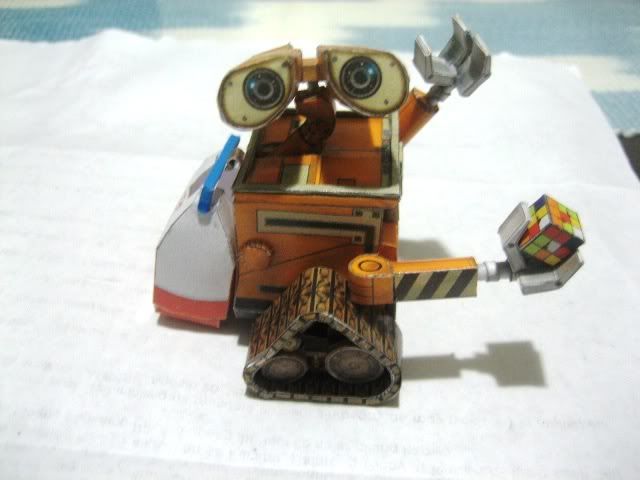
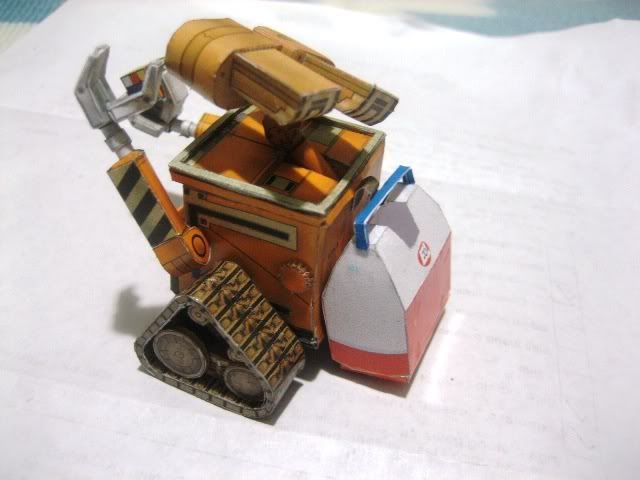
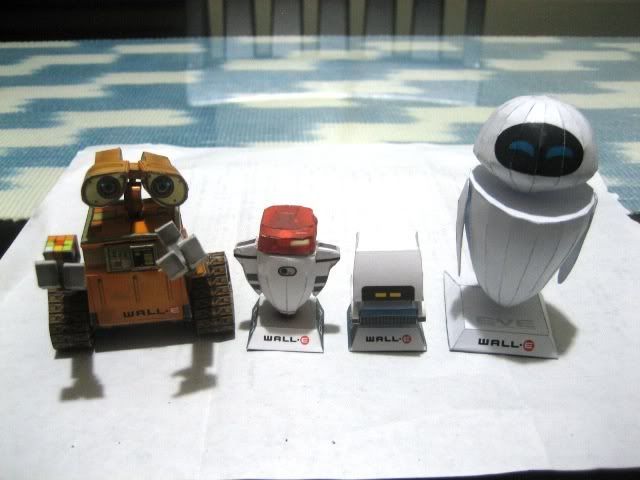
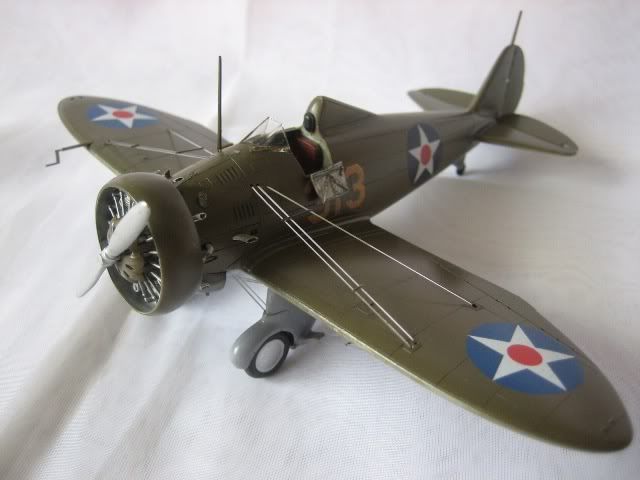
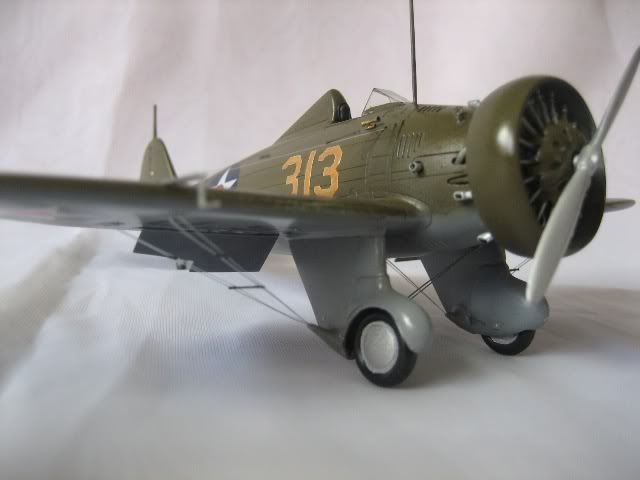
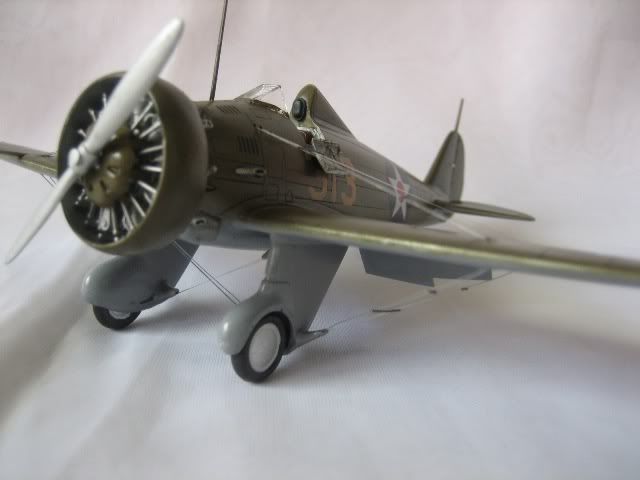
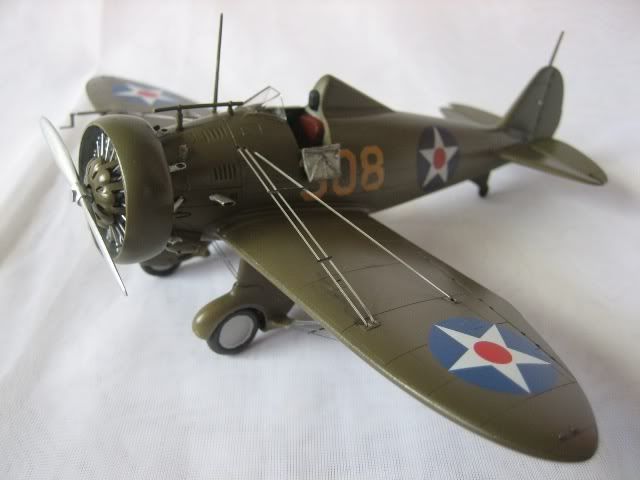
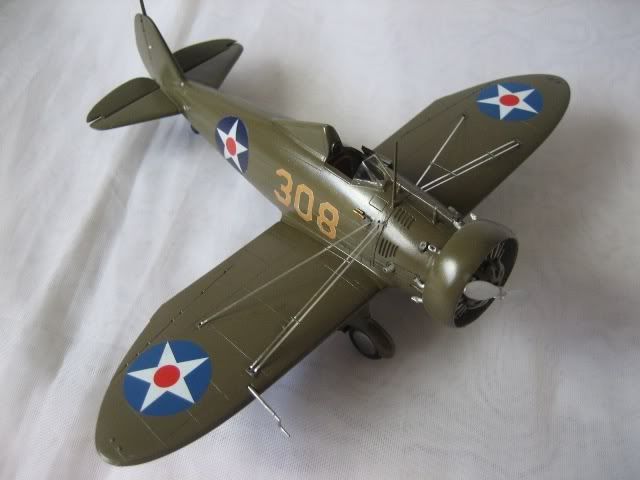
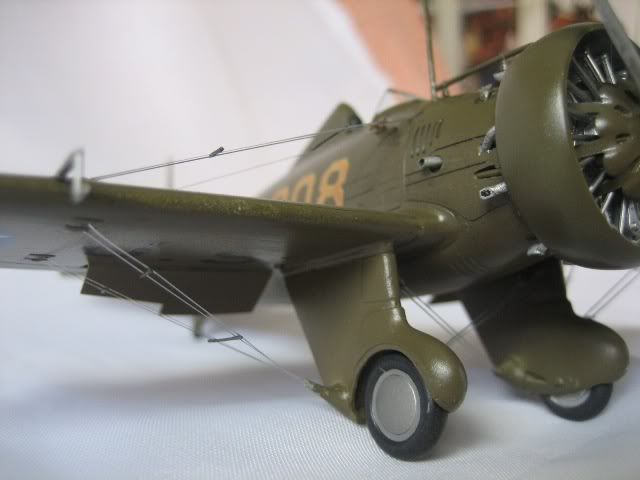
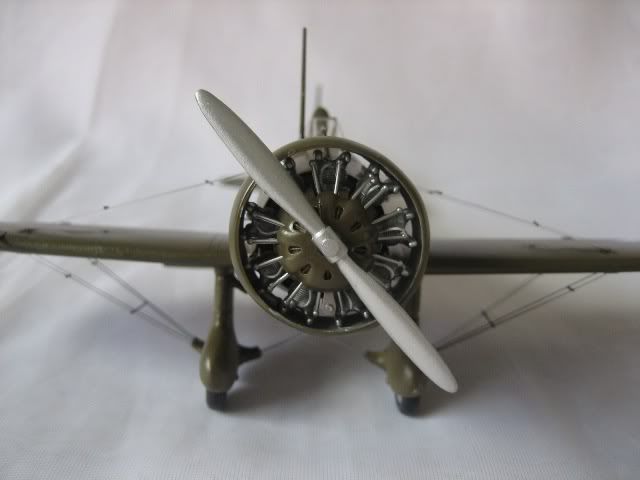
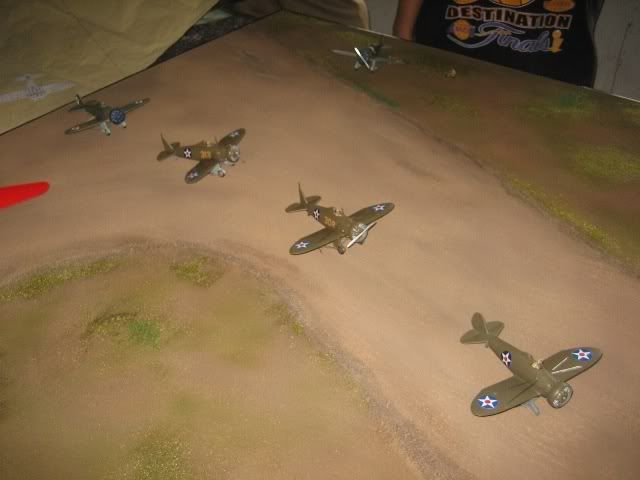
Here are the finished products. I didn't get to shoot in-progress photos.
<Wall-E
Eve, M-O and GO-4

Group Shot
Thanks for visiting :)
posted by pinoy yuppy husband at
8:37 AM
|
0 Comments
![]()
![]()


